Star trail photography 101: How to capture starry sky magic
How-to
By Ben Southall
If star trail photography has you scratching your nebula but you want to craft Instagram-worthy shots of stars trails over beautifully lit landscapes, then this post is for you.
The good news is you don’t have to be a professional photographer with expensive equipment, a celestial education and nerdy software to produce stunning results. This simple guide allows you to head outdoors to capture the wonders of our universe.
What equipment do I need?
- A DSLR camera with a wide lens.
- Tripod, beanbag or other stable location i.e. rock, wall or fence post as long as it doesn’t move.
- Cable shutter release, a wired intervalometer or the camera’s own built-in version.
- A computer for editing once you’ve finished.
First thing's first
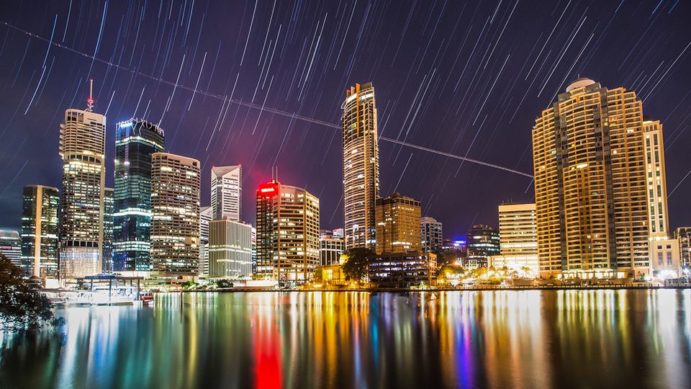
Choose a cloudless night, ideally one with a new moon and without significant light pollution from suburbia. Ideal locations include Moreton Island, Southern Queensland Country, Outback Queensland or one of the islands of the Great Barrier Reef.
Then use the widest lens you have (the one with the smallest number, ideally 10-20mm). The wider it is the more stars it will capture.
Finally, set up your tripod up on a solid surface, not a moving jetty, pontoon or boat.
Set up the framing of your shot
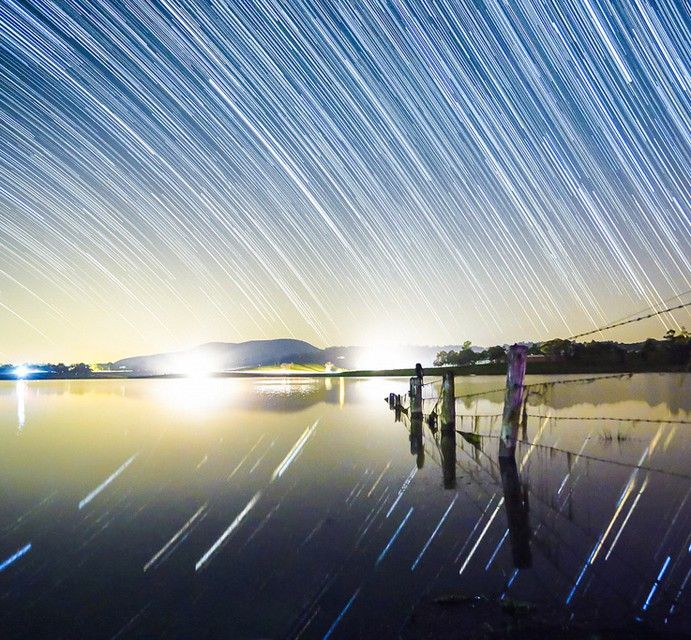
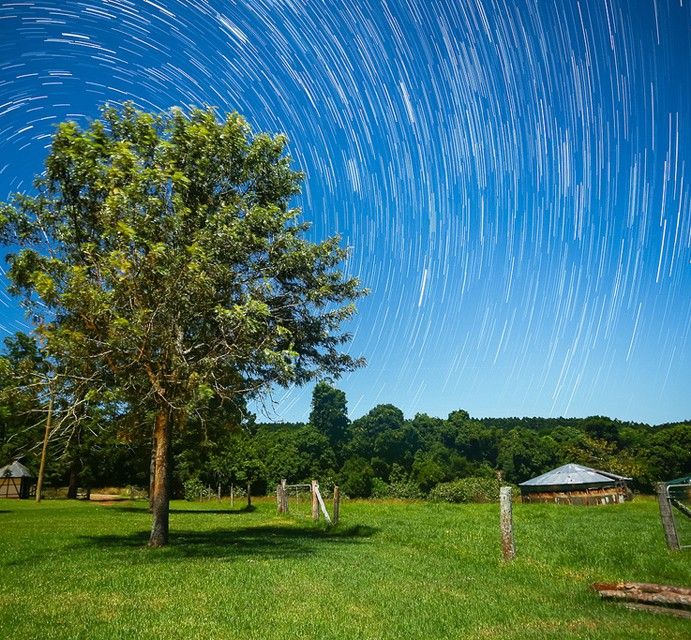
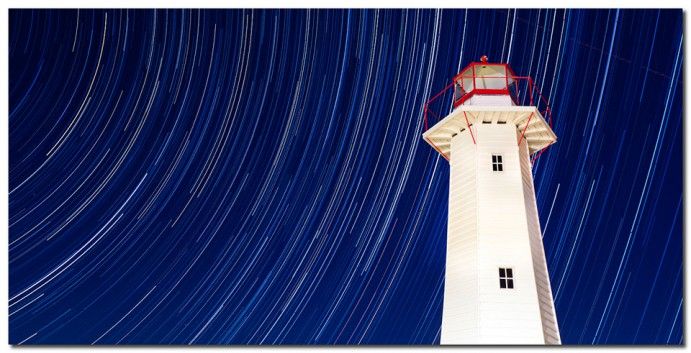
The rules of shooting at night are the same as during the daylight hours. Start by finding a visually interesting location for the foreground or on the horizon. It could be a pier, a rock formation, a building or a distant mountain range.
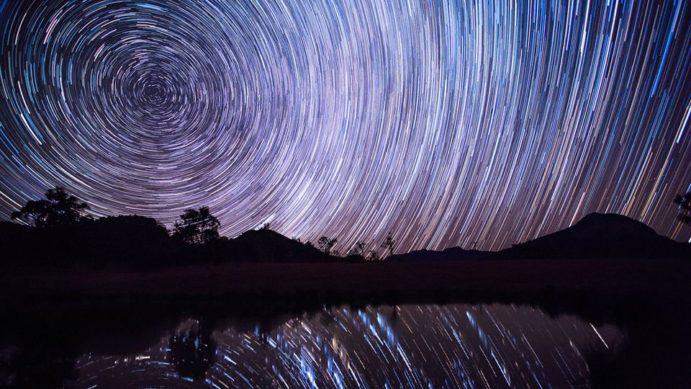
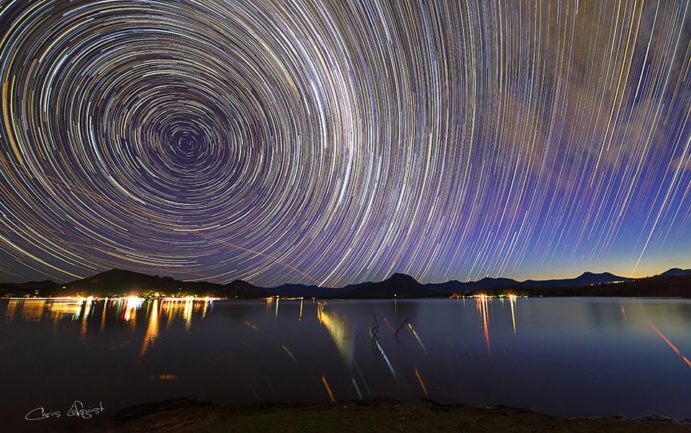
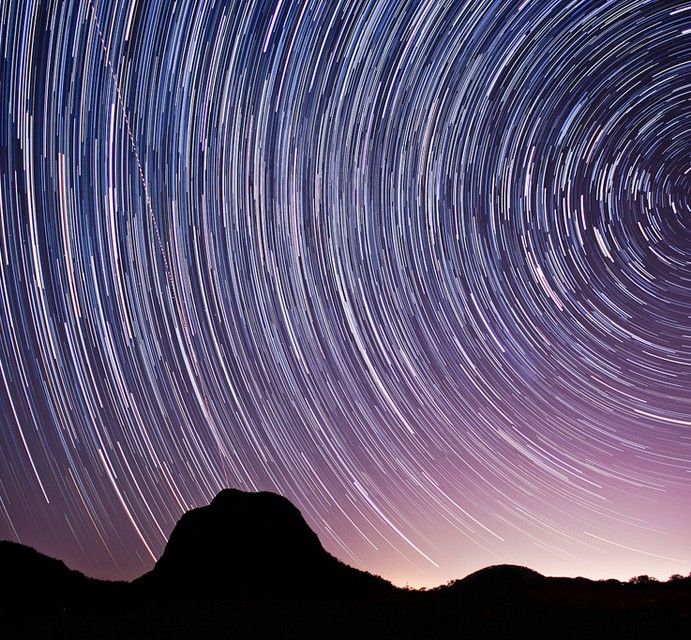
In a perfect world, the shot would include both an interesting foreground AND the centre of the celestial pole. Hang on, what is a celestial pole you ask? Well, it’s just a fancy name for the axis points in the sky that the earth spins on. Think the north and south pole in layman terms.
If your star-gazing game is strong you can follow these instructions to find the celestial pole in your hemisphere, north or south. Otherwise you there are plenty of phone apps that allow you to point your phone at the sky and it will fill in the features.
If that’s too technical or you are far enough away from civilisation that you don’t have any reception then start with a test photo. Set your camera to bulb mode and take a photo with a 3-4 minute exposure. You’ll see roughly where the centre point is because it looks like the eye of the moving trails and can then adjust your camera to face toward it.
Ditch auto everything
Switch your camera to its manual setting. Make sure your lens is set to manual too, and change its focus to infinity or ∞ as your subject will be way off in the distance. It’s a good idea to turn off any image stabiliser the lens may have also or it’ll chew up your battery very quickly.
Take a test shot
Set the camera to these settings:
- ISO 3200
- Aperture f/3.5
- Shutter speed 30 seconds
- Shoot in RAW. Some blending programs only allow JPEGS – do check
Have a look at the image and check your exposure levels. If it’s too bright, decrease the ISO, too dark and you’ll need to increase it.
When you’re happy with the results it’s time to get snap happy!
Set the camera to take photos automatically
If you’re using a cable release, press the button and lock it in place. As soon as the first photo has finished it will continue automatically until you stop it, by releasing the lock.
If you’re using an intervalometer, set the number of images you require and off you go.
I always use a 30-second exposure so it’s easy to calculate how long you’ll need. For a one-hour shoot, you’ll be taking 120 images (120 x 30 seconds = 60 minutes).
Post-photo computer magic
If you don’t usually edit your photos then don’t worry about it here either. Simply import the series of photos into your chosen software program and it’ll blend them all together delivering your finished masterpiece.
I prefer to use Adobe Lightroom to tune my images after I’ve taken them, usually working the shadows, whites and noise reduction until I’m happy. You can do the same with virtually every photo-editing program on the market, paid or free.
These settings are then copied and pasted onto ALL of your star-trail images:
Now it’s time to combine all of the images you’ve edited, and it needn’t seem daunting.
There is simple, free software that’s available on both PC and Mac and takes care of everything for you or otherwise turn to Photoshop.
Help guides will explain the process and the end result should be a perfect star trail image. If you’ve conquered the stars why not try your hand at aerial photography on the reef.
